Moving large appliances like water heaters can be a daunting task, especially when you’re unsure about the proper way to transport them. One common question that arises during such moves is whether a water heater can be transported on its side. In this article, we will explore the ins and outs of this topic, providing you with the knowledge needed to make informed decisions when relocating a water heater.
We’ll delve into the reasons behind the recommendations, potential risks, and the steps to ensure a safe and successful transport. So, if you’re planning to move a water heater, read on to find out if it’s acceptable to lay it on its side.
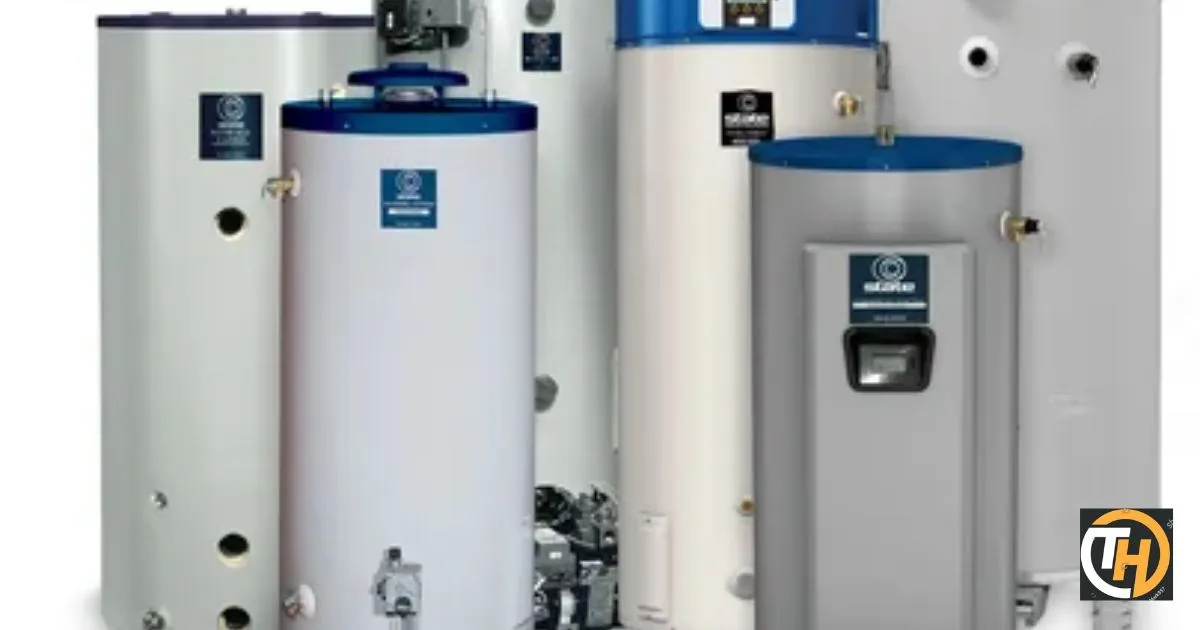
Understanding Water Heaters
How Water Heaters Work
Water heaters are indispensable appliances in modern homes, ensuring a steady supply of hot water for various household needs. To understand whether it’s possible to transport a water heater on its side, it’s essential to grasp the fundamental principles of how these devices function and why their transportation requires special consideration.
Water heaters work based on a relatively simple yet efficient concept. They are designed to heat and store a quantity of water to provide hot water on demand. Here’s a breakdown of their operation:
Water Storage Tank
At the core of a conventional water heater is a storage tank. This tank is typically made of steel and is insulated to help maintain water temperature. The tank size varies depending on the water heater’s capacity, which can range from small units for individual households to larger ones for commercial use.
Heating Element
Within the water heater, there are one or more heating elements. These are electric or gas-powered components responsible for raising the water temperature. Electric water heaters have one or two heating elements (upper and lower), while gas water heaters use a gas burner to heat the water.
Thermostat
A thermostat is connected to the heating elements to control the water temperature. Users can adjust the thermostat to set their desired hot water temperature. When the water temperature falls below this set point, the thermostat signals the heating element to activate.
Dip Tube
Cold water enters the water heater through a dip tube. This tube directs the incoming cold water to the bottom of the tank. Since hot water rises, positioning the cold water inlet at the bottom ensures efficient heating.
Hot Water Outlet
Once the water is heated, it rises to the top of the tank where it’s ready for use. The hot water outlet, typically located near the top, allows hot water to exit the tank and flow to the faucets and fixtures in your home.
Pressure Relief Valve
For safety purposes, water heaters are equipped with a pressure relief valve (PRV). The PRV is designed to release excess pressure or temperature to prevent tank damage or ruptures. This valve is typically located near the top of the tank.
In essence, a water heater continuously heats water in the tank to maintain a set temperature. When you turn on a hot water tap in your home, the preheated water is delivered to you, ensuring a consistent supply of hot water for various applications like bathing, dishwashing, and laundry.
Understanding this basic operation of water heaters is crucial because it forms the foundation for comprehending the intricacies involved in their transportation, including the consideration of whether they can be transported on their side. Let’s delve into why this aspect, specifically whether a water heater can be transported on its side, is of significant concern when moving a water heater.
The Importance of Safe Transportation
Discussing why proper water heater transportation is essential to avoid damage and ensure continued functionality.
Can a Water Heater Be Transported on Its Side?
The Concerns
Addressing the primary concerns related to transporting a water heater on its side, including potential damage and safety risks.
The Right Way to Transport a Water Heater
Preparing for Transport
Moving a water heater requires careful planning and preparation to ensure both your safety and the water heater’s integrity. Before you even think about laying it on its side, there are essential steps to take. Here’s a comprehensive guide on how to prepare a water heater for safe transportation:
Turn Off the Power
Your first and most critical step, when preparing a water heater for transportation on its side, is to turn off the power supply to the water heater. If it’s an electric water heater, switch off the circuit breaker dedicated to it in your electrical panel. If you have a gas water heater, set it to pilot mode or turn off the gas supply.
Ensuring the power is disconnected ensures a safe and hassle-free move for your water heater while addressing concerns about whether a water heater can be transported on its side.
Shut Off the Water Supply
Locate the cold water inlet valve connected to the water heater and turn it off. This valve is usually located above the water heater. After turning off the cold water supply, open a hot water tap somewhere in your home to release pressure and allow air into the tank. This step prevents a vacuum from forming in the tank, which could damage it during transportation, especially when a water heater is transported on its side.
Gas Control Valve (For Gas Heaters)
If you have a gas water heater, locate the gas control valve, which is often located at the bottom of the unit. Turn the gas control valve to the “pilot” setting or completely shut off the gas supply.
Disconnect Electrical and Plumbing Connections
Depending on the complexity of your water heater installation, you may need to disconnect electrical and plumbing connections. This can involve safely detaching electrical wires and disconnecting the water supply and any relief valve drain pipes.
Secure the Heater
Properly secure the water heater to prevent it from moving during transportation. Use heavy-duty straps or ties to ensure it remains stable. This step is crucial to prevent damage to the unit and ensure your safety during transport.
Insulate the Unit
To prevent any potential damage during transport, it’s advisable to insulate the water heater. This can involve wrapping it in moving blankets or using foam insulation to protect it from bumps and vibrations.
Laying it on Its Side
If, after considering all the above precautions and manufacturer recommendations, you decide to lay the water heater on its side, ensure it’s properly cushioned and secured, even when “Water Heater Be Transported on Its Side.” The bottom of the tank should be well supported, and it should not be subjected to excessive pressure or weight.
By following these preparation steps, you’ll significantly reduce the risks associated with transporting a water heater, whether you decide to lay it on its side or transport it in an upright position. Safety and proper precautions should always be your top priorities during the process.
Securing the Water Heater
Securing a water heater is a crucial step in ensuring safe and damage-free transportation, whether you’re moving it in an upright position or on its side. Regardless of how you choose to transport it, proper securing is essential. Here are the guidelines for safely securing your water heater in preparation for transportation:
Safety First
Before you begin, ensure that you are wearing appropriate safety gear, including gloves and safety goggles, to protect yourself during the process.
Disconnect Straps or Ties
If there are any straps or ties securing the water heater in its current location, carefully disconnect them. Make sure you release any fasteners without sudden movements that could cause injury.
Inspect the Water Heater
Take a moment to visually inspect the water heater for any visible damage or loose components. If you notice any issues, address them before proceeding further.
Use Heavy-Duty Straps or Ties:
To secure the water heater for transport, you’ll need heavy-duty straps or ties designed for this purpose. These are available at most hardware or moving supply stores. Choose straps that are strong and wide enough to adequately support the water heater’s weight.
Anchor Points:
Identify strong anchor points on the water heater where you can attach the straps. These anchor points are often located near the top of the unit. Be sure to avoid any fragile components or electrical connections.
Position the Straps
Position the straps around the water heater and connect them securely. Ensure that the straps are tightened evenly to prevent tilting or shifting during transport.
Use Padding
To prevent the straps from damaging the water heater’s exterior, place padding or protective material between the straps and the unit. This will help safeguard the water heater’s finish.
Check the Tightness:
Once the straps are in place, double-check their tightness. The water heater should be snugly secured, but be cautious not to over-tighten and damage the unit.
Test Stability:
Before you move the water heater, gently test its stability. Ensure that it doesn’t wobble or shift when you apply slight pressure. If it does, re-adjust the straps and retest until it’s stable.
Elevate the Bottom:
If you’re laying the water heater on its side, provide proper support for the bottom to prevent damage. This can involve using a cushion or support structure that extends the entire length of the tank.
By following these guidelines for securing the water heater, including whether a water heater can be transported on its side, you’ll significantly reduce the risk of damage or accidents during transportation. Proper securing is an essential aspect of moving a water heater, and it’s advisable to seek professional assistance if you’re unsure about any step in the process.
Unloading and Installation
Once your water heater, including when it needs to be transported on its side, has reached its new location, the process of unloading and installation is crucial to ensure its proper function and safety. Here’s what you need to do to complete the relocation:
Safety Assessment: Before you proceed, assess the new location to ensure it meets safety requirements for a water heater. Ensure proper ventilation, gas connections (for gas heaters), and access for future maintenance.
Inspect the Water Heater: Carefully inspect the water heater for any damage or issues that may have occurred during transportation. Look for visible dents, loose components, or damage to the electrical connections.
Upright Position (If Applicable): If you transported the water heater in an upright position, carefully position it in its designated spot. Ensure it’s level using a spirit level to prevent future issues with water distribution.
Gas Connection (For Gas Heaters): If you have a gas water heater, reconnect the gas supply line, following all safety precautions and guidelines. Tighten connections securely and check for gas leaks using a gas leak detection solution.
Reconnect Plumbing
Reconnect the water supply lines. Ensure that the connections are tight and free from leaks. Open the cold water inlet valve and let the tank fill with water.
Electrical Reconnection (For Electric Heaters): If you have an electric water heater, reconnect the electrical wiring following manufacturer recommendations. Ensure all wires are properly connected and secure.
Pressure Relief Valve (PRV)
If you removed or disconnected the pressure relief valve (PRV) for transportation, reattach it and ensure it’s functioning correctly.
Turn On the Power: Restore power to the water heater by switching the circuit breaker back on (for electric heaters). For gas heaters, set the gas control valve to the desired temperature.
Test the Water Heater: Once all connections are reestablished and the power or gas is restored, test the water heater. Open hot water taps in your home to purge any air from the lines and allow the tank to heat up.
Monitor for Leaks: Keep a close eye on the water heater for any signs of leaks during the initial operation. Ensure the pressure relief valve is functioning properly, and there are no water leaks at the connections.
Adjust Temperature: If necessary, adjust the thermostat on your water heater to achieve the desired hot water temperature. Many water heaters have a user-adjustable thermostat for this purpose.
By following these steps, you can safely and effectively complete the unloading and installation of your water heater in its new location, even if you need to transport it on its side. Proper installation is key to ensuring your water heater’s longevity and efficient operation. If you encounter any issues or are unsure about any part of this process, it’s advisable to seek professional assistance to avoid potential problems down the road.
Risks and Alternatives
Risks of Transporting on Its Side
Transporting a water heater on its side, while feasible in some situations, is not without its risks and complications. It’s essential to be aware of the potential issues that may arise when you choose this method for moving your water heater. Here are some of the primary risks and complications associated with laying a water heater on its side:
Damage to Internal Components: One of the significant risks is damage to the water heater’s internal components. Water heaters contain various elements, such as heating elements, anode rods, and dip tubes. Laying the unit on its side can potentially dislodge or damage these components, leading to decreased efficiency or even failure.
Gas and Water Leaks: If you have a gas water heater, laying it on its side can cause gas and water leaks. Gas water heaters are designed to operate in an upright position to prevent the risk of gas leaks. Additionally, there is the potential for water to seep into areas it shouldn’t, leading to corrosion or electrical issues.
Safety Hazards
The pressure relief valve (PRV) is a critical safety feature on a water heater. Transporting the unit on its side may affect the proper operation of the PRV, potentially leading to safety hazards. If the PRV doesn’t function correctly, excessive pressure or temperature can build up in the tank, risking tank rupture or other issues.
Inefficiency: Even if no immediate damage occurs, laying a water heater on its side can result in inefficient performance. The tank may not fill properly, and the heating element may not function as efficiently, leading to longer recovery times and higher energy consumption.
Manufacturer Recommendations: Many water heater manufacturers strongly advise against transporting their products on their side. Ignoring these recommendations may void your warranty or make it challenging to claim warranty coverage if issues arise.
Time-Consuming Repairs: If your water heater experiences problems due to being transported on its side, repairing or replacing damaged components can be time-consuming and costly. It’s best to avoid these issues by taking the necessary precautions during transportation.
Alternative Transport Methods
Transporting a water heater on its side presents risks and complications, as previously discussed. If you want to avoid these potential issues, there are alternative methods and precautions to consider when relocating a water heater. Here are some alternative approaches to moving your water heater safely:
Upright Transportation: The most secure method for relocating a water heater is to transport it in an upright position, as recommended by most manufacturers. This minimizes the risks associated with internal component damage, gas leaks, and other potential issues.
Professional Assistance: If you’re uncomfortable with the idea of moving your water heater yourself, or if you have concerns about damaging it, consider hiring professionals. Experienced movers or plumbers can safely disconnect, transport, and reinstall your water heater, ensuring it remains in proper working condition.
Drain the Tank
If you must transport the water heater on its side, ensure that the tank is entirely drained. This step is crucial to reduce the risk of water leakage and potential damage during transportation.
Secure the Unit: Whether transporting the water heater upright or on its side, it’s essential to secure it properly. Use heavy-duty straps or ties to prevent shifting during transportation. Ensure that the water heater is tightly fastened and stable.
Protect Components: To safeguard internal components, consider removing sensitive parts, such as heating elements, anode rods, and the pressure relief valve, and packing them separately. This minimizes the risk of component damage during transit.
Insulate the Unit: Using insulating materials or moving blankets can provide an additional layer of protection during transportation. This can help absorb shocks and prevent external damage.
Verify Manufacturer Guidelines: Always refer to the manufacturer’s guidelines for specific recommendations on moving your water heater. Following their instructions can help you avoid warranty issues and ensure the safest transport possible.
Post-Transport Inspection: After the water heater has been relocated, perform a thorough inspection to check for any damage, loose connections, or issues that may have arisen during transportation. Address any concerns promptly.
Consider a New Installation: If the move is part of a larger home renovation project, it might be more cost-effective and secure to install a new water heater at the new location rather than relocating the old one.
Table
| Key Points | Description | Concerns |
| Upright Transportation | The safest method recommended by manufacturers. | Reduced risk of damage to internal components. |
| Professional Assistance | Hiring experts for relocation ensures safety. | Expert handling reduces potential issues. |
| Drain the Tank | Fully draining the tank before transport is crucial. | Prevents water leakage and potential damage. |
| Secure the Unit | Properly fastening the water heater is essential. | Prevents shifting and damage during transportation. |
| Protect Components | Removing sensitive parts minimizes component damage. | Prevents damage to critical internal elements. |
| Insulate the Unit | Additional insulation safeguards the water heater. | Absorbs shocks and protects against external damage. |
| Verify Manufacturer Guidelines | Following guidelines is essential for safety. | Ensures warranty compliance and safe transport. |
| Post-Transport Inspection | Checking for damage post-transport is crucial. | Allows prompt addressing of any issues that may have arisen. |
| Consider a New Installation | For larger renovation projects, installing a new unit may be more practical. | May be cost-effective and secure in some cases. |
This table summarizes the key points, their descriptions, and concerns related to alternative methods and precautions for relocating a water heater. Following these guidelines and considering these concerns will help ensure a safe and successful water heater relocation.
Conclusion
In conclusion, the decision to transport a water heater on its side should not be taken lightly. While it is possible in some cases, it comes with certain risks and considerations. To ensure a safe and successful move, it’s essential to weigh these factors carefully and take the necessary precautions. If you decide to transport your water heater on its side, follow the recommended steps to minimize potential damage and ensure a trouble-free installation. And if you’re uncertain or uncomfortable with this method, it’s always advisable to seek professional assistance to guarantee a secure relocation.