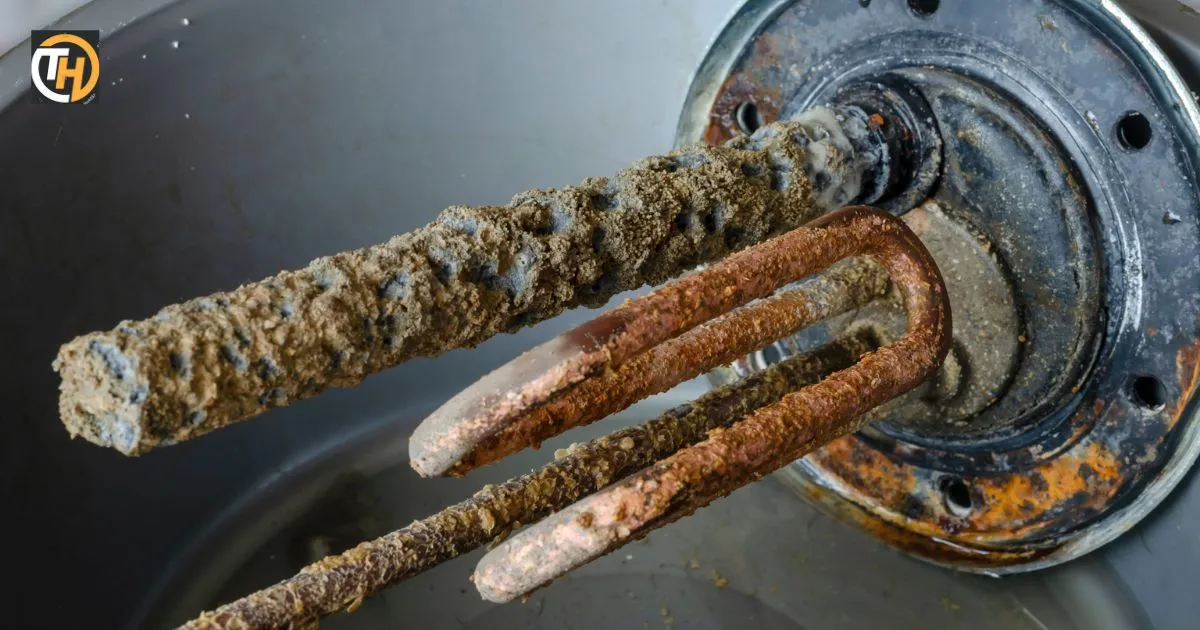
Flushing your water heater is a proactive approach that not only help improve water pressure immediately but also crucially contributes to extending the lifespan of your water heater. Sediment accumulation, if neglected, can lead to corrosion and heightened wear on the tank and heating elements. Employing regular flushing as a preventive measure effectively tackles these issues, ensuring both the longevity and optimal performance of your water heater.
Imagine turning on your shower only to be met with a weak stream of water. This could be a sign that your water heater needs to be flushed. Over time, sediment builds up in the tank, which can clog the lines, reducing your water pressure.
So, does flushing a water heater help with water pressure? The answer is yes. When the sediment is cleared out of the tank, the water can flow more freely, and the pressure is often improved. However, it’s important to note that if your water pressure doesn’t improve after flushing, there may be other issues in your plumbing system that need to be addressed.
Understanding the Benefits of Water Heater Flushing
Flushing out the sediment that accumulates in the tank of a water heater is essential for maintaining optimal pressure and improving water quality. By removing the sediment, you can ensure that your water heater operates at the correct pressure and delivers clean, high-quality water.
Factors Influencing Water Pressure
Water pressure in your home is influenced by various factors, and understanding these elements is crucial for maintaining an efficient plumbing system. Let’s delve into the key factors that play a significant role in determining water pressure.
Local Water Pressure
The local water pressure directly affects the water pressure within your home. High water pressure, although seemingly advantageous, can lead to issues such as thermal expansion. In areas with elevated water pressure, the likelihood of thermal expansion occurring in water heaters increases.
Check Valves
Modern plumbing systems often incorporate check valves as essential components to prevent backflow. While these valves serve a crucial role in maintaining the integrity of the plumbing system, they can contribute to changes in water pressure. A check valve creates a closed system, preventing water from flowing backward into the municipal supply.
Tankless Unit Size
The size of your water heater, especially in the context of tankless units, is another factor influencing water pressure. Can a tankless water heater be installed in a closet? Tankless water heaters, known for their on-demand hot water delivery, vary in size and capacity.
Maintaining optimal water pressure in your household is a priority, and one effective way to achieve this is through regular flushing of your water heater. Let’s explore the various aspects of how flushing can positively impact water pressure, ensuring a smooth and efficient plumbing system.
Preventive Maintenance

Flushing your water heater on a regular schedule is a preventive measure that can mitigate potential issues affecting water pressure. Over time, sediment and mineral deposits can accumulate at the bottom of the tank, impeding the heating process and reducing overall efficiency..
Efficiency Boost
The efficiency of your water heater is closely linked to its ability to maintain adequate water pressure. Flushing plays a crucial role in optimizing this efficiency. By eliminating sediment and mineral buildup, the heating elements can operate more effectively, ensuring a steady supply of hot water at the desired pressure.
Prolonging Lifespan
Flushing is not only beneficial for immediate improvements in water pressure but also contributes to prolonging the lifespan of your water heater. Sediment accumulation can lead to corrosion and increased wear on the tank and heating elements. Regular flushing helps prevent these issues, extending the overall lifespan of the water heater.
Environmental Impact
In addition to the immediate advantages of water pressure and the lifespan of your water heater, flushing aligns with environmental considerations. A well-maintained water heater operates more efficiently, reducing energy consumption and minimizing its environmental impact.
Variable Factors in Flushing
When it comes to flushing your water heater, understanding the variable factors influencing the process’s duration is essential. Let’s delve into these factors and provide a general estimate of the average time it takes to complete the flushing procedure.
Variable Factors
Flushing a water heater is not a one-size-fits-all process, and several factors can influence how long it takes to complete. One key variable is the extent of sediment and mineral buildup in the tank. If the accumulation is substantial, the flushing process may take longer to ensure thorough removal.
Additionally, the water heater’s design and age can impact flushing time, with older or more complex systems sometimes requiring more attention.
Average Time

While the duration of flushing can vary based on the factors mentioned, providing a general estimate helps set expectations for homeowners undertaking this maintenance task. On average, the flushing process typically takes around 30 to 45 minutes.
Step-by-Step Guide to Flushing
Flushing your water heater is a crucial maintenance task that can enhance its efficiency and lifespan. Here’s a comprehensive step-by-step guide to help you navigate through the flushing process:
Gathering Essentials
Before diving into the flushing procedure, ensure you have all the necessary tools and materials. You’ll need a garden hose, a bucket, a screwdriver, and safety gear, including gloves and safety goggles.
Safety Precautions
Safety should always be a top priority. Before initiating the flushing process, turn off the water heater and gas or electricity supply. Allow the unit to cool down, reducing the risk of burns. Wear appropriate safety gear, such as gloves and safety goggles, to protect yourself during the procedure.
Turning Off the Power
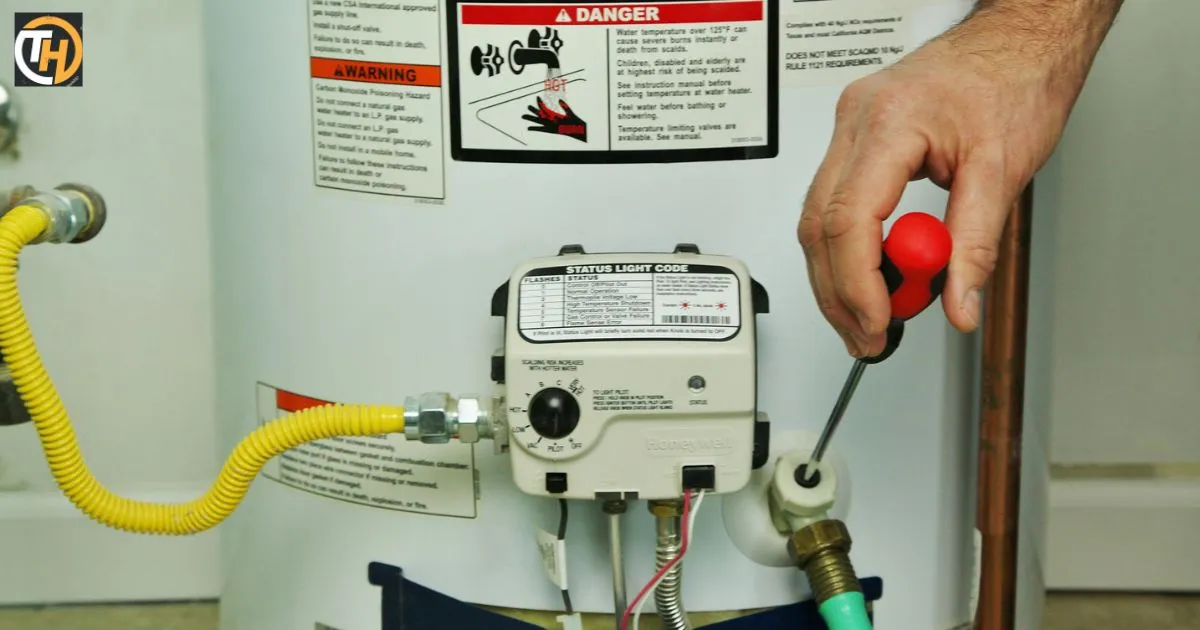
For gas water heaters, set the thermostat to the “Pilot” position. If you have an electric water heater, turn off the circuit breaker dedicated to the unit. This ensures a safe environment for the flushing process.
Draining the Tank
Connect a garden hose to the drain valve located at the bottom of the water heater. Place the other end of the hose in a suitable drainage area, like a floor drain or the outdoors. Open the pressure relief valve and the drain valve to allow water to flow out of the tank. Be cautious, as the water might be hot.
Flushing the Sediment
Flushing is a critical step in eliminating sediment buildup. With the drain valve still open, turn on the cold water supply for a few minutes. This action helps flush out any remaining sediment from the tank. Keep an eye on the watercolor, ensuring it becomes clear before proceeding to the next step.
Inspecting the Anode Rod

After flushing, it’s time to inspect the anode rod. Locate the anode rod’s access point, usually on top of the water heater. Use a wrench to loosen and remove the rod for inspection. If the rod shows signs of corrosion or depletion, consider replacing it to prolong the water heater’s lifespan.
| Step | Description |
| Gathering Essentials | Collect tools and materials, including a garden hose, bucket, screwdriver, and safety gear (gloves, safety goggles). |
| Safety Precautions | Turn off the water heater, gas or electricity supply, and allow the unit to cool down. Wear safety gear to prevent burns during the procedure. |
| Turning Off the Power | Set the thermostat to “Pilot” for gas heaters or turn off the dedicated circuit breaker for electric units. Ensure a safe environment for flushing. |
| Draining the Tank | Connect a garden hose to the drain valve, directing water to a suitable drainage area. Open the pressure relief valve and drain valve, monitoring water clarity. |
| Flushing the Sediment | Keep the drain valve open and turn on the cold water supply to flush out the remaining sediment. Observe the watercolor until it runs clear, signifying sediment removal. |
| Inspecting the Anode Rod | Use a wrench to remove the anode rod for inspection. Replace if corroded or depleted to extend the water heater’s lifespan. |
This table summarizes the key steps involved in flushing a water heater, providing a quick reference for a successful maintenance procedure.
FAQs
Can a water heater affect water pressure?
Yes, a water heater can affect water pressure, especially if there are issues like sediment buildup.
How do you relieve pressure in a water heater?
To relieve pressure in a water heater, open the pressure relief valve to release excess pressure.
What are the benefits of flushing your water heater?
Flushing your water heater benefits by preventing sediment buildup, maintaining efficiency, and extending its lifespan.
What are the benefits of flushing your water heater?
If you notice discolored water, strange noises, or a reduced hot water supply, your water heater may need flushing.
What happens if a water heater is not flushed?
If a water heater is not flushed, sediment can accumulate, reducing efficiency, causing heating issues, and shortening its lifespan.
Conclusion
In conclusion, regularly flushing your water heater is a crucial maintenance practice that not only improves water pressure but also prevents issues, enhances efficiency, and prolongs the lifespan of the heater. This simple yet effective task contributes to the overall functionality and longevity of your water heating system.
Ensuring the flushing of your water heater is part of its regular maintenance help maintain a reliable and consistent hot water supply throughout your home, contributing to overall water pressure improvement. Therefore, don’t underestimate the significance of flushing a simple effort with substantial long-term benefits for both the efficiency of your water heater and water pressure in your household.


